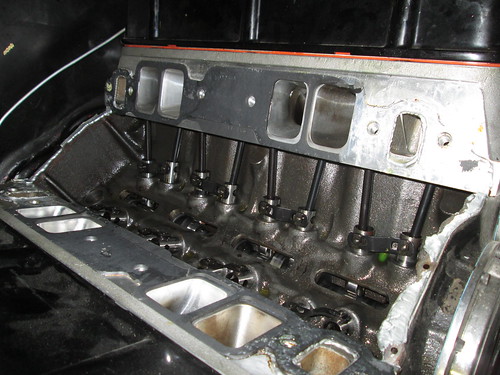
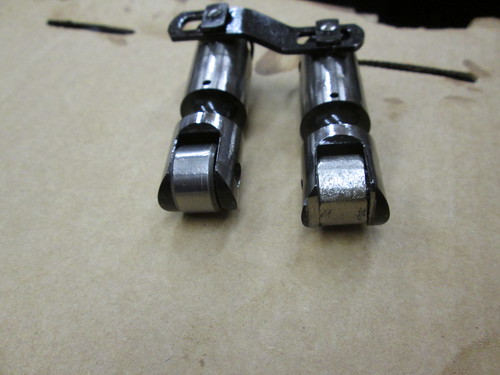
Among the items I wish to finish are as follows: Trunk carpet, nitrous system, sound system, new brake lines, gauge cluster, interior items/upgrades, fuel tank pickup/sending unit, window net, trans shield, and other safety items required for the track. While I pondered going with a 540 short block, I simply can't justify the cost at this time, nor would I ever get the wife's permission! So, I have chose to fix what I got, and go the bushing style/larger bore roller lifter. If I do ever get that 540 block, I can get it setup for the larger lifters, and all of the upper end will transfer from my 454 block.
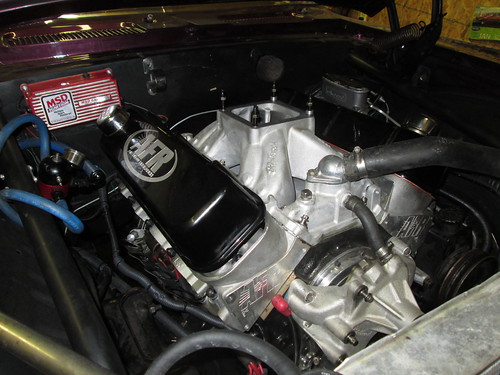
I've been dragging my feet lately, but hope to get back on track in the next few weeks while on my furlough. I can't promise major progress, as I won't be purchasing much, if any, parts for install. That said, my roll control and nitrous kit are both complete (minus a nitrous plate) and ready for installation. Until next time!